All posts by Chase

More clutch issues, Subframe Spacers, Wheels

What a surprise right?….This is getting really annoying.  Below is my whole thought process through this, some of it is more for my own understanding later down the road, but I’m open to ideas.

The situation:
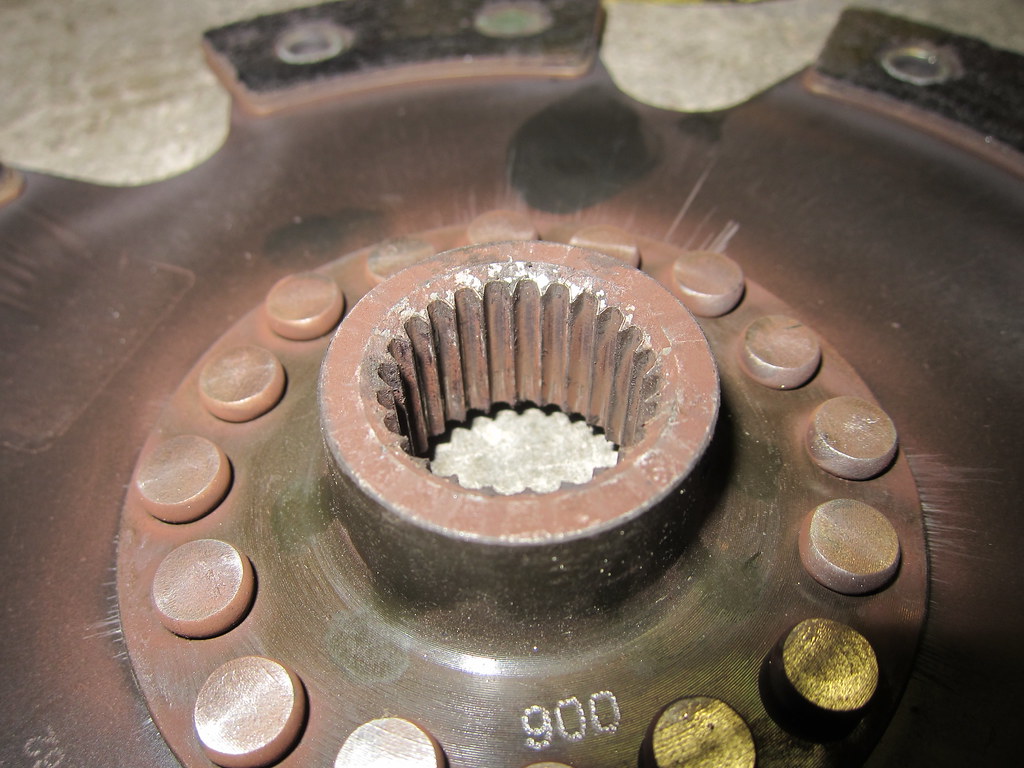
The clutch had been making some excessive noise this past summer and occasionally a strange feeling pedal so I told my self I’d tear it apart and check out whats going on.  I wanted to see how my new pilot bearing was doing and was expecting to find a bad throw-out bearing due to the strange clutch feel and noise…boy was I wrong!  For starters, the pressure plate had bent teeth (see picture below). So I took this off and inspected the clutch disc and pilot bearing, the disc looked like it was about to strip out AGAIN and the pilot bearing was nearly completely trashed.

Alright, my first thought is something isn’t aligned properly as it should NOT be doing this.  Looking deeper into the problem I noticed that the pressure plate teeth weren’t bent but that the pressure plate friction surface was crooked inside the housing.  I was able to hit the friction surface a couple times and it straightened out which in turn corrected the teeth.  When I inspected the flywheel it appeared to have a little hot spot where the friction disk was closest to the flywheel.

My conclusion to this whole problem is now pointing entirely to a defective/bad pressure plate.  I’m surprised to say this as I’ve always heard ACT was a very good brand.  Due to the somewhat seized pressure plate, it was creating an unequal amount of force on the clutch disk, more so on the one side, which normally would have an equal and opposite friction force on the full face of the disk.  However, due to the uneven clamping load there was a smaller friction force on the opposing side of the clutch disk. This caused the input shaft to be pressed against the pilot bearing, wearing it much more than it normally would.  As it wore the input shaft would be forced off-axis and cause added friction between the input shaft and clutch splines.

This huge chain reaction almost brought me to strip out ANOTHER clutch disk and input shaft.  So glad I caught it before it ruined another transmission. Reason’s I do not suspect alignment issues as much are simply due to the fact that everything lines up very nicely when assembled, and more so due to the fact that the pressure plate was obviously seized and from what I remember the RPS pressure plate was perfectly fine when this happened the first time.

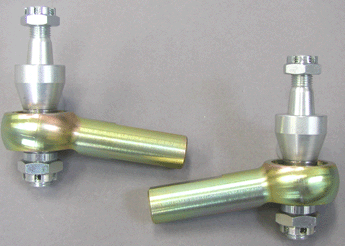
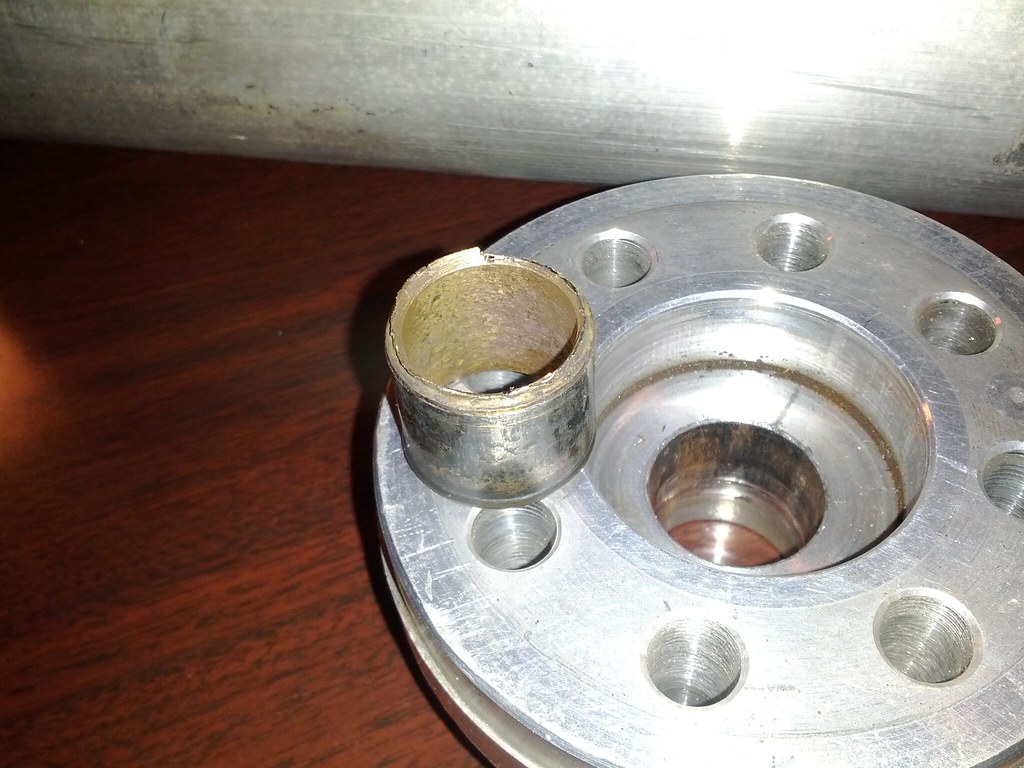
Solutions to this problem are going to be a new clutch (again…) and redesigning the pilot bearing just in case (again…); the new clutch will instead be a Comp Clutch Strip Series 0420.  I will also be re-machining the flywheel spacer to press fit a bronze sleeve into, then a new Nismo roller pilot bearing will be lightly pressed into the sleeve after making sure everything is concentric.  Let the fun begin!

What’s left of the bearing.

And what the splines of the ACT clutch disk looked like, as you can see they were getting very worn and sharp.

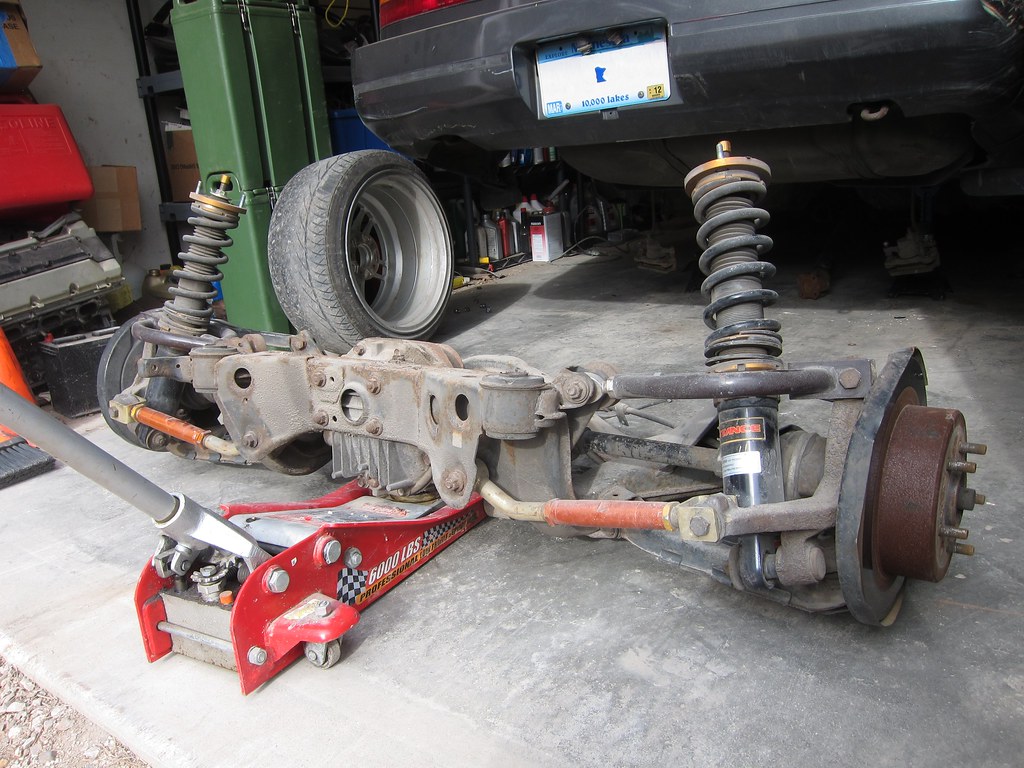
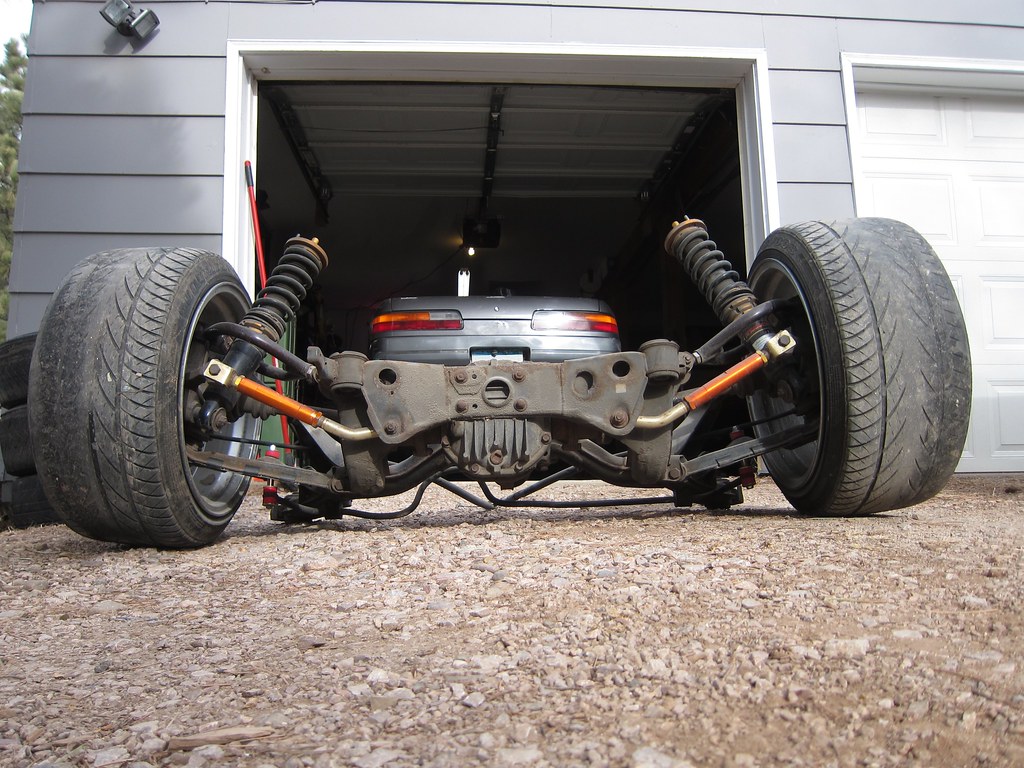
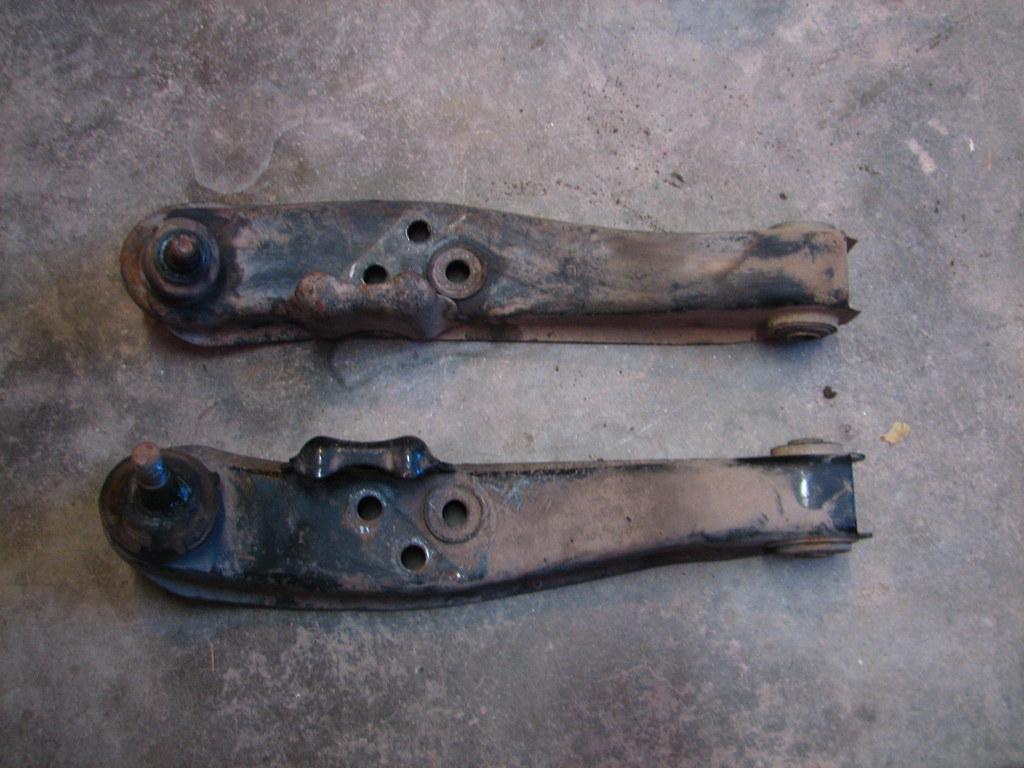
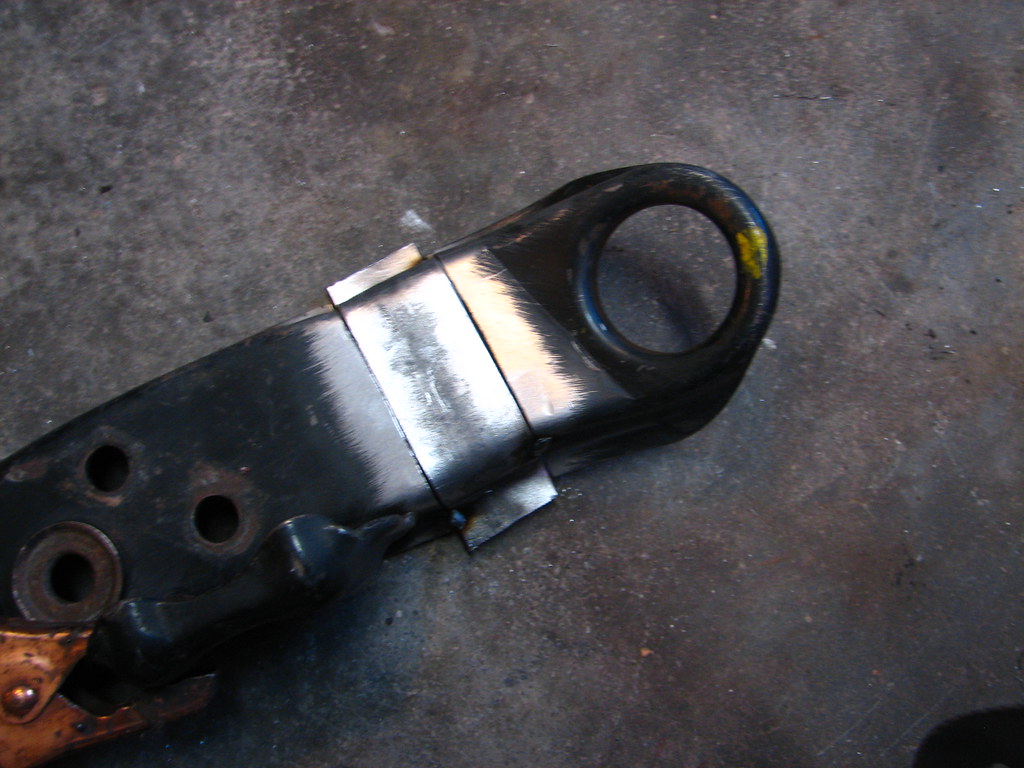
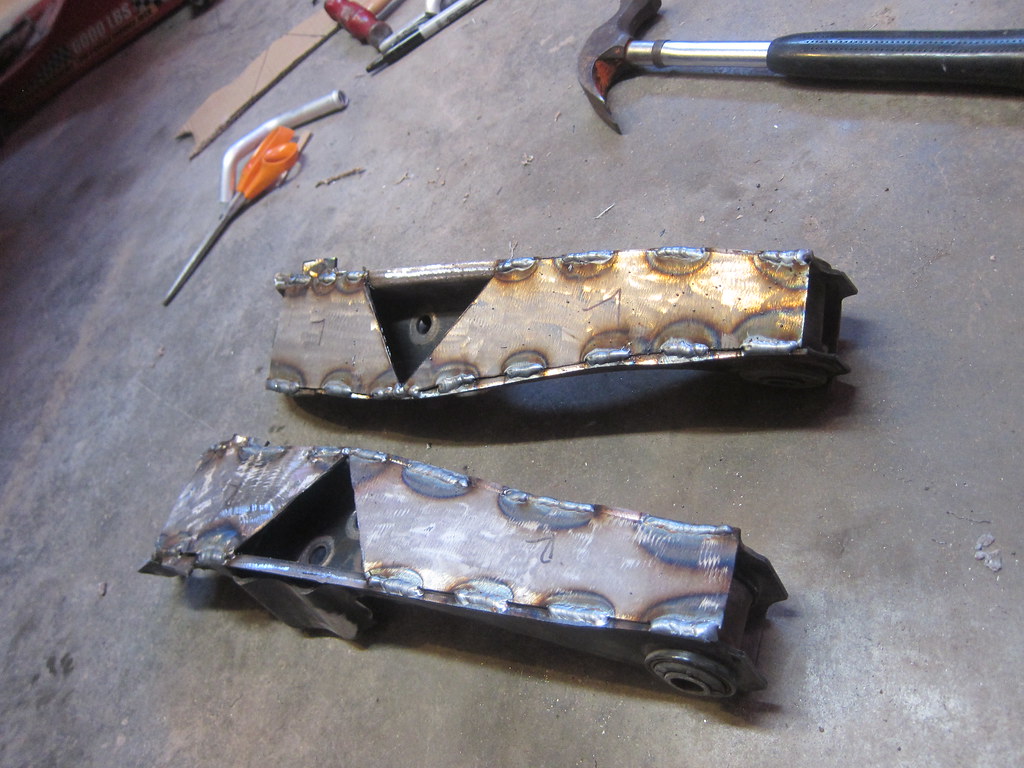
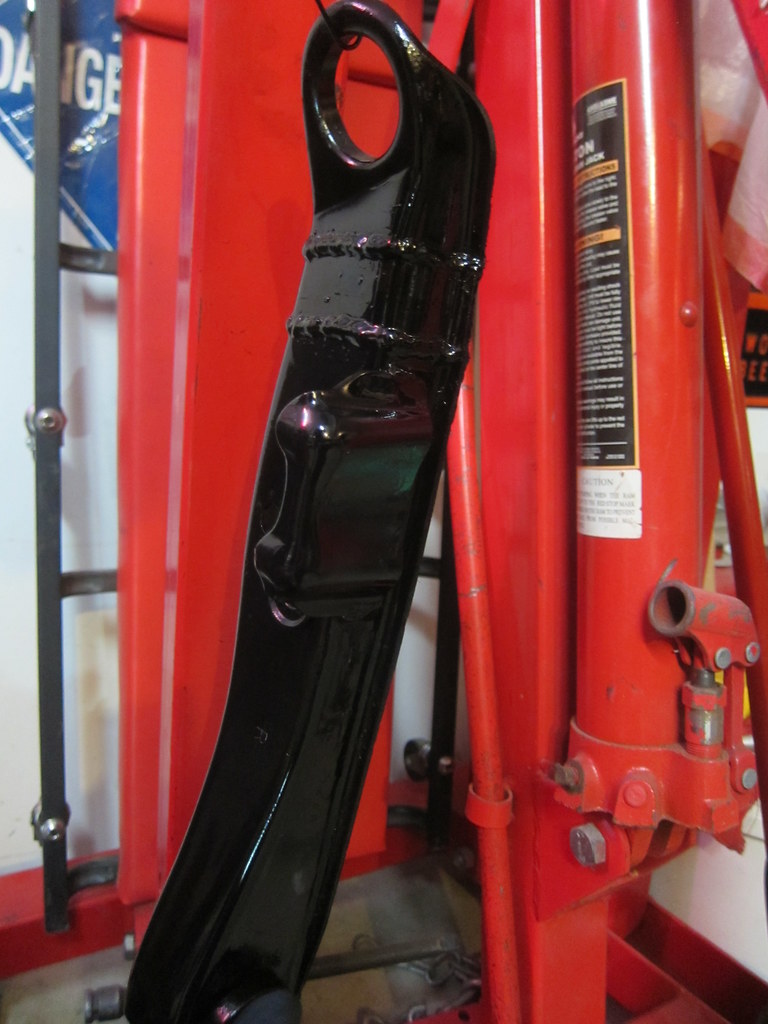
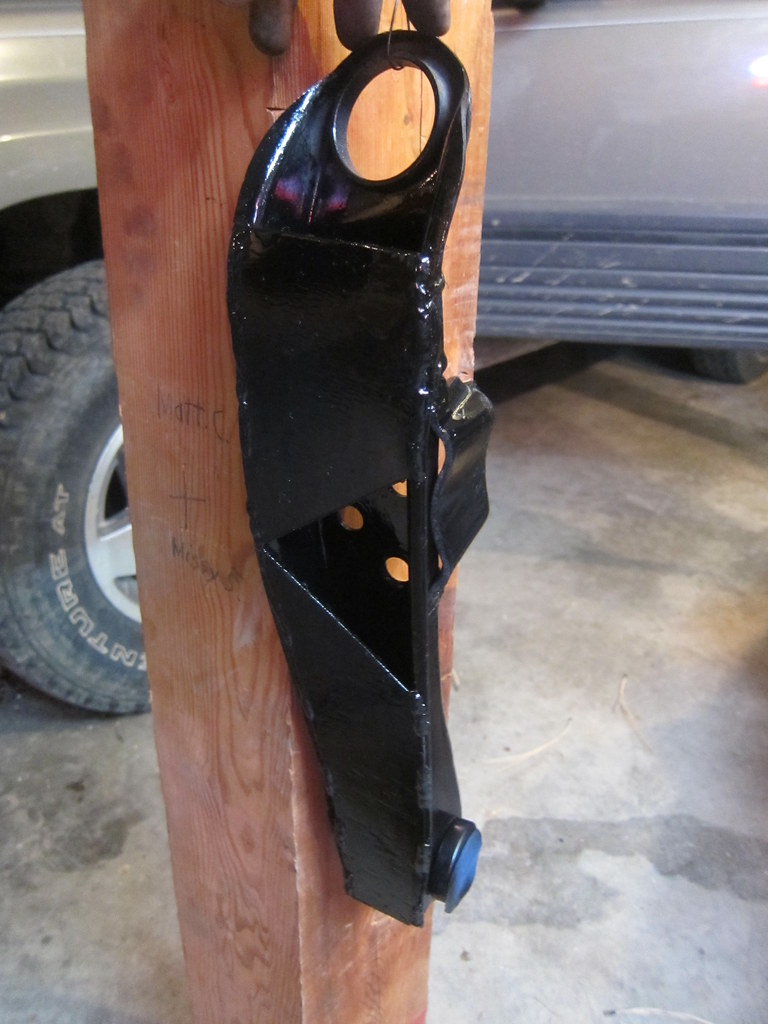
In other news, I got material to get my subframe spacers made.  Work is scheduled to be done on Friday!

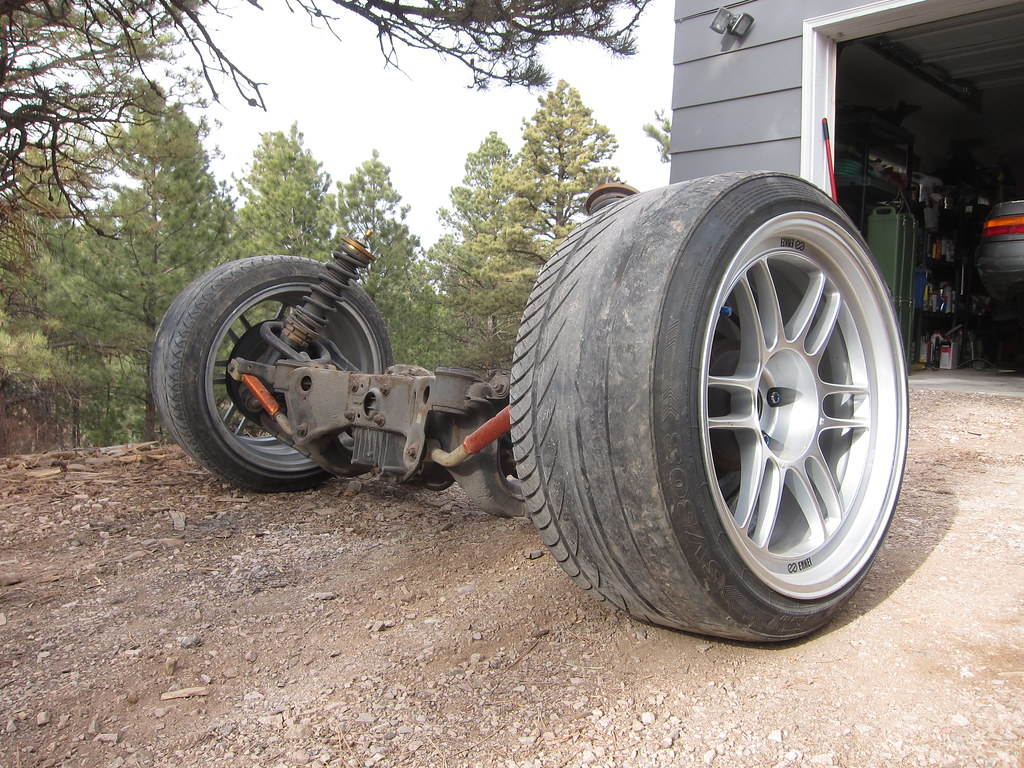
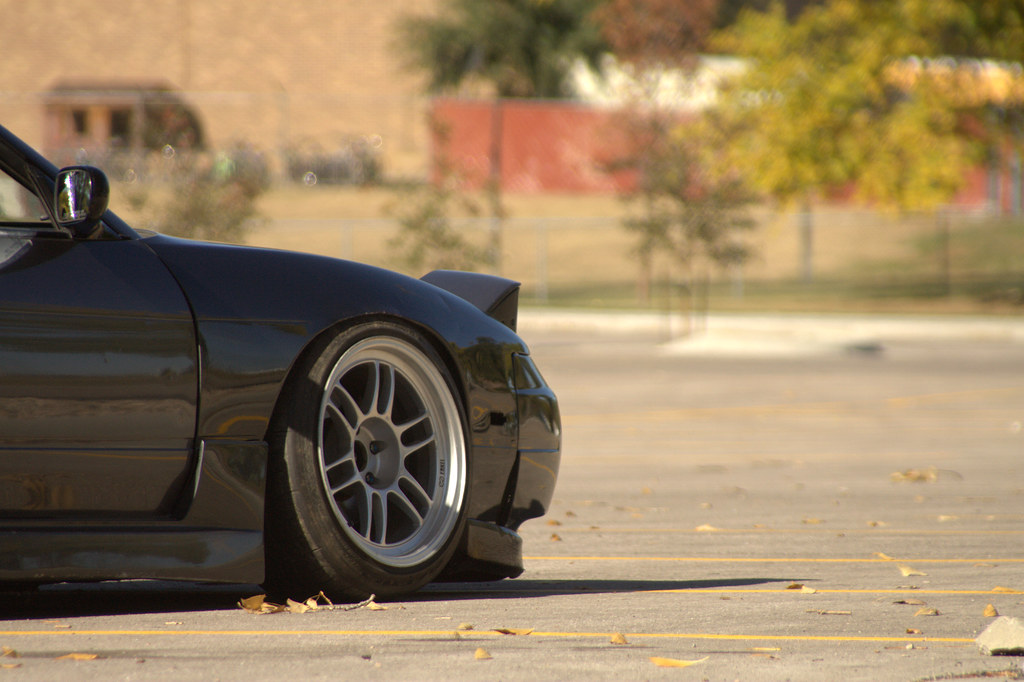
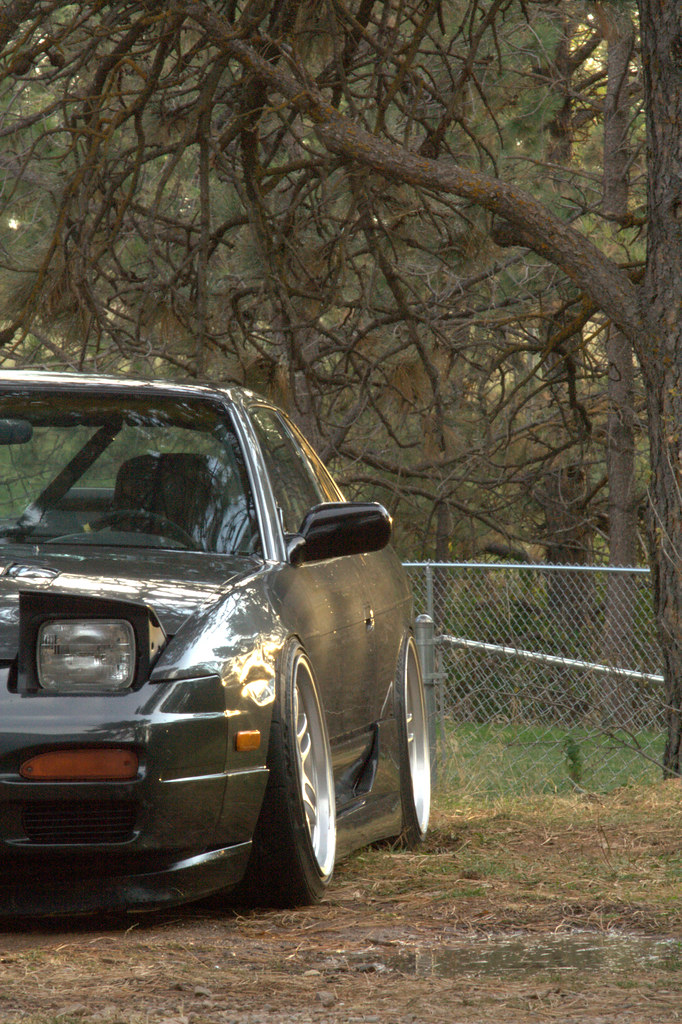
Also got some drift spares with tax return $$, tires should be coming tomorrow!
XXR 527 – 18×9.75 +20 (they sent me one with a +25 offset… hopefully to be corrected soon)

Subframe DROPPED.

For one of my classes we get two projects a semester where we get to design and create something. I chose to make my own aluminum subframe risers as my factory ones are SHOT, so here we go. I will soon have the entire power train out as well as I’m taking the engine and trans out for some freshening up, more on that later.

Car looks like it’s got an extreme case of that classic muscle car stance with it all raked out. Like or no like?

Really this went extremely easy.  After taking the exhaust off, disconnecting the driveshaft, unbolting the calipers, disconnecting the ebrake lines, and unbolting the struts the thing popped right out after undoing the 4 bolts holding the subframe in.  Was ridiculously easy.

I had to unbolt the wheels to slide it out, but once out put them back on.  This assembly is beastly heavy by the way.  Maybe it’s time to install some q45 aluminum uprights I’ve got back in MN.

And just some other misc. pictures for whomever may need them.

Update on possible updates to come.

Sooo i will give you a glimps into the future of what is to come. Entire drivetrain will be ripped out within a week or so. Subframe will come out as i will be making and installing some solid risers. The engine/trans is coming out to freshen up some stuff that has been neglected over the past two years. The exhaust is starting to rust and i need to replace the throwout bearing, BAD. I also would like to check on my pilot bearing I made a couple years ago.

In the meantime, until I update with pictures and info from that session, enjoy this fancy tune I found.
Party.

Pictures from FOTOmotive!

I ended up winning a contest FOTOmotive was holding which resulted in me getting a free rig-shoot with these guys!  They always always ALWAYS come out to our drift events and do work.  I love these guys to death so naturally I’d like to help these guys out.  They do some fantastic work, and there is plenty of it to go around.  Want some pictures of you car or bike taken? Check them out!  Top notch stuff and really great to work with.  Here’s some of the images they took of my car during the rig shoot.  Really happy with how they all came out and will even be getting a nice poster-sized print out of at least one of them.

Show these guys some love at their Facebook page:
http://www.facebook.com/FOTOmotive

They regularly post drifting photos throughout the summer there so if you see your car and want a print get ahold of them.  I know they would be more than happy to do that for you, and for a reasonable price too!  Professional print, frames, whatever you need.

I will leave you with some pictures.

vvv  I think this one is my all-time favorites.  vvv

Wish list?

Is it too early to be starting a wish list for over the winter/tax returns??

I think not.

Number 1 on my list:

Ikeya Formula inner tie rods.  I just bought new s14 replacement stuff last winter and they were first too long with stock control arms.  Now they aren’t long enough with my extended control arms and the inners don’t have enough thread engagement to put my 7mm spacers on.  Facepalm.  Solution is below.

These would also be nice but not necessary:

Ikeya Formula tie rod ends.

Number 2 on the list:    A BUCKET SEAT!!! FINALLY!!!!     Now whether these will happen or not…. no idea.

Few pics of the car – Door Bar Update.

Went out and took a few pictures of the car on the ground all “cleaned up”

I will also leave you with an in-car video of the last event  and one i found of me getting the monster can!.  Donate tires to me please?  My fronts are bad and am out of rears pretty much!

Pics:

Video:

ALSO!

Also added some door bars to my Auto Power bolt in cage i acquired a while ago.  I made the connections exactly as Auto Power appeared to make them, 1.5 x .125 DOM inside of 1.75 x .120 DOM with 4 inches of overlap and a Grade 8 fastener and self-locking nut.  Base plates are made out of 1/4 inch plate (both sides).   I wanted to keep it bolt-in so i can sell it later as a tandem legal bolt in cage.  (Tandem legal depending on what events you go to.)  
Got a steering wheel for a decent price a while ago as well.  Momo Mod 08 with an NRG short hub.  All i need is some seats!

Control Arms – Car on the ground

So i did some work today and washed the car, cut the hood to clear the radiator as I re-secured it and the cap hit it again.  Also stripped the entire car of every sticker except the team sticker (Opposite Grip) and my buddy’s shop (www.Renown-Performance.com).  I must say, the car looks much classier without all the gaudy stickers, even with destroyed fenders, hah.

But as you can see.. the front has about 7 degrees of camber at the moment.  I had to raise the car three turns in order to stop rolling rubber off on the metal fenders in half-dollar sized balls (literally), although it still rubs because as it turns out lengthening your control arm also lowers you car.  The moment arm is lengthened and therefore your spring is easier to compress due to the steeper angle between the top hat and lower balljoint.  This thing was low as crap! I already pulled the fenders a LOT, and need to pull more or man up and actually buy something fiberglass other than sideskirts.  Currently i am stuck at this much camber until i can make the fenders wider.  I am aiming for about 5 degrees.

Looks like my wheel bearing shot itself huh.  lol

Control Arms

Hey look, I did something to my car.

Decided to get nasty in the camber area.  Will post more pics of them on the car later and after i align the thing.  I’m expecting to get approximately 5 degrees with these puppies and maybe a little better contact patch at full lock too.  Also, might be awesometron knuckle time and maybe attempt at some ackerman adjustments at the same time..

Ended up putting some polyurethane bushings in these as well.  I’ve had an energy suspension master kit lying around for years and I’m slowly upgrading haha.

Before

During

After