
***Alright, so here’s the beginning of all the madness. Since i’ve got all this tuff on a couple forums i just copied it all to here. It’s MUCH easier than re typing it all… Some of the stuff took place in 2005 but the majority of it in 2007. Enjoy.***
Ok, so this thread is basically explaining what I have been working on during the past three summers.
 ^ This is the car I started with. I purchased it in March of 2005.
The original plan for the car was to do the incredibly popular SR swap. I ordered a front clip from a business after talking with them a lot and they gained my trust. It was roughly $2500 out of my pocket. Unfortunately the businesses supplier flaked and didn’t ship the clips. I have received all but about $570 back from this business. It took nearly a year though. This basically destroyed my plans for the summer and I was stuck. Instead of selling it I kept it and looked at other options.
I was in a junk yard one day and happened to see an infiniti j30 which has the vg30 engine in it. I was going to do this swap but then wondered what engine was in the q45. I found out it was a 4.5 liter quad cam v8 called the vh45de which put out 310hp and 330tq at the crank with 10.2:1. compression and a 7000 rpm redline. It also has VVT. It is an all aluminum block that I think weighs somewhere around 480 pounds. Yes it’s heavier but it won’t be that much different from an RB swap. Only the early models made this power because of a change made to increase emissions. But anyways I was sold. I did some research and found that someone had put the later version (a smaller 4.1 liter vh41de) in an s13 but couldn’t find one with a vh45de.
 ^ Here is an awesome picture of the mechanical breakdown of the vh45de I found online!
One person did this swap into an s14. Everything is stock except for the exhaust and intake. He is making 275hp at the wheels.
 ^ So I ran across this 1990 q45 with 256xxx miles on it for 900 bucks. Picked it up for 800.
These engines are way overbuilt and known to last extremely long. The only thing that needed to be replaced on these early models were the timing chain guides because they were plastic and broke from becoming brittle. Unfortunately this engine did not have the guides replaced and it broke and became lodged in the oil pickup tube. The heads looked burnt and I became pissed.


 ^ I stripped this thing of ALL of its wiring and anything I thought I might need. Then had someone come literally drag it up onto a flatbed and haul it away, which was really cool to see. (I kept the wheels so that’s why it they dragged it up)
 ^ Here is the engine out of the car. Unfortunately this engine did not have the guides replaced and they broke and became lodged in the oil pickup tube. The heads looked burnt and I became pissed. So I could get the heads cleaned for free but the valve seals would have to be replaced
Anyways my friend happened to find another q45 in a junk yard that only had 150xxx miles on it while looking for other parts. I checked it out and they said they would sell me the block, heads, intake mani… everything short of the alternator and a/c compressor for 150 bucks! I didn’t have to think twice about this because that was way less what it would cost me to rebuild the other engine. Plus now I had extra parts!
Now everything you see past this point has taken place during summer of 2007. Progress explosion!
 ^ Here’s the new engine I bought after I stripped it of everything but the heads.
 ^ New engine on the left, Old on the right.
 ^ Here on the top is a valve cover and upper timing chain cover from the bad engine. On the bottom is a upper timing chain cover from the good engine. Notice the difference?…
 ^ New engine’s valve cover. CLEAN…
 ^ This made my day when I pulled the upper chain guide cover and found that the guides had been replaced. See the metal backing? Thats good! (saves me about 370 bucks!) Also look at the front of the head! Its CLEAN! Very clean!
 ^ I was basically the happiest person on earth when I pulled the valve cover off on one of the heads. If a head looks this clean after 150xxx miles you know the previous owners did oil changes religiously, it also had a mobil oil filter which gave me an idea it was in good condition… and I thank them for that. Whoever that is…
 ^ Here is the tranny I am using for this swap. It is a n/a z32 manual transmission I drove down to Iowa to get it from a junk yard. (about $300)

^ Here is the custom adapter plate I ordered about a year and a half ago. Maybe longer. It was a group buy I happened to come across when I was researching the swap. Only 5 were made and it was made in the UK. ($750) The reason for this is that no manual transmission bolts up to this engine.
 ^ So here is the first time the engine was test fitted into the chassis.
 ^ Here are the engine and tranny mounts I made out of quarter inch steel. My friends dad welded them up for free. For the tranny mount I used the stock ka auto tranny and welded two 1/4” pieces of steel because it sat back a little bit. Some people actually cut the mount and re-welded it. Which I found un-necessary. The stock z32 rubber mount was used for the tranny bushing/mount/whatever you want to call it. And hockey pucks are used for the engine bushing/insulating/whatever you want to call it.
 ^ A close up of the tranny mount. I basically used that center hole as the new rear bolt holes on each side. And then drilled a new hole for the front.
 ^ Good engine with the re-surfaced stock n/a z32 flywheel.
 ^ Picture of the flywheel with aluminum spacer.
 ^ Adapter plate and RPS stage 2 clutch (6-puck disc).
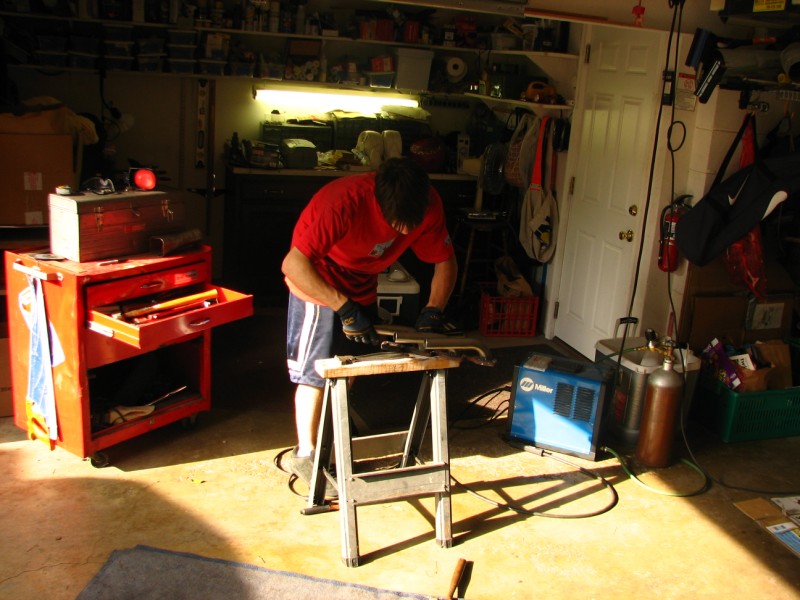 ^ Me fabricating the headers out of mandrel bent tubing. (Thanks to friends for letting me borrow the welder and helping me fabricate these) These weren’t finished in time so that’s why it had to go to storage again. I purchased all of my tubing through “Headers by ED” he also helped me figure out the correct size tubing for the exhaust system.
 ^ My buddy Brandon helping me fabricate the exhaust. Thanks man!
 ^ I cut the flange off of the stock vh45 headers and am now using them to make custom headers. These will be pounded round, welded and ground down to fit correctly.
 ^ Had to bend the ends of the tubing to fit into the flanges. A ball-peen hammer and an anvil type vise thing was my friend during this stage. Also an angle grinder…
 ^ Picture of the transmission bolted to engine with adapter plate and passenger side exhaust.
 ^ On the bottom of the engine there are two black braces for the bottom of the tranny. At first I wasn’t going to use them because I didn’t think it would allow for clearance over the steering rack. But it clears.
 ^ Picture of drivers side header.
 ^ Test fitting the drivers side header… Its extremely close to the steering column. It’s touching right now but that will be fixed. And lots of heat wrap will be used to keep the heat down.
 ^ Picture of engine in car!
 ^ Another picture of engine in car with the car actually on the ground. Notice how it doesn’t sit incredibly low in the front with the stock suspension.
 ^ Passenger side mount in car. Notice how close the exhaust ports are to the frame rails.
 ^ Clearance of oil filter. I thought I was going to have to do a remote mounted filter but I don’t think it will be necessary.
 ^ Another picture of oil filter clearance.
 ^ Here is a picture of the distance between the brake booster and the drivers side valve cover. This was after we re-drilled holes and moved it up and to the right. This is also a brake booster from a Nissan Sentra, s it is much smaller than my stock s13 auto booster. I have q45 brakes to make up for the loss in braking power.
I’m not too concerned about how close it is because the engine is mounted pretty solid in there.
 ^ Distance between firewall and back of engine… Don’t think I will have heat.
 ^ Picture of shifter position. It’s almost perfect, sits a little to the left. There was a rod originally on it that I cut off and just re-welded the bracket from the other end. You can see the welds where I did this.
 ^ My hood won’t close anymore.
And those wires’ hanging over is the custom harness I made. It’s there just for testing. Making sure it works and all. I got as far as cranking it over. I didn’t have fuel hooked up so it never fired. And the exhaust never got completed, I ran out of time.
 ^ Picture right before we towed it to storage just this past summer. Its sooo close!
And that’s my dad helping me hook it up to the trailer. Many thanks to him for letting me use the garage all these summers and bearing with the project.
 ^Just an overhead image of it before it goes to storage.
One main frustration of this project was figuring out the correct wiring. I think I had to wire up a total of 10 wires. All necessities.
I still have to have a custom driveshaft made. I called around and can get a basic 1 piece steel drive shaft made for under 100 bucks.
And I also still have to run the clutch lines and make a custom bracket for an alternator.
Will be using a 240sx alternator because of fitment issues, would have to notch the frame otherwise. Another person used it with this engine and works fine.
If you have questions please feel free to ask. This is an enormous project and I’m sure I haven’t covered everything in this single post.
I also have MANY more pictures i could post up if someone wants a different angle.

you realize that all the stuff that u custom made are available from Mazworx and Xcessive (motor mounts, tranny mount, tranny adaptor, driveshaft, ect.).
You should install the Porsche Cayenne intake manifold, its a perfect fit and adds 30+ rwhp
LikeLike
Thanks man, however, realize I made all of this stuff before Mazworx, or anyone for that matter, even had a kit… back in 2005 and 2006.
Yes, the Cayenne intake is a nice addition. The only problem is it is a very custom fit…not a simple bolt on. Also, that 30whp gain is not accurate. Peak power was seen to be about the same, however, there was a gain in power throughout the low to mid-range rpm's. Also, those type of power gains were seen on a boosted car making 430whp. In my opinion, the price to do the intake would not be worth it for an n/a engine, especially seeing as how the gains would be much less.
LikeLike
Its so nice to see a well informed person on the internet!
What size/thickness of tubing did you end up using?
LikeLike